| in this series | |
|---|---|
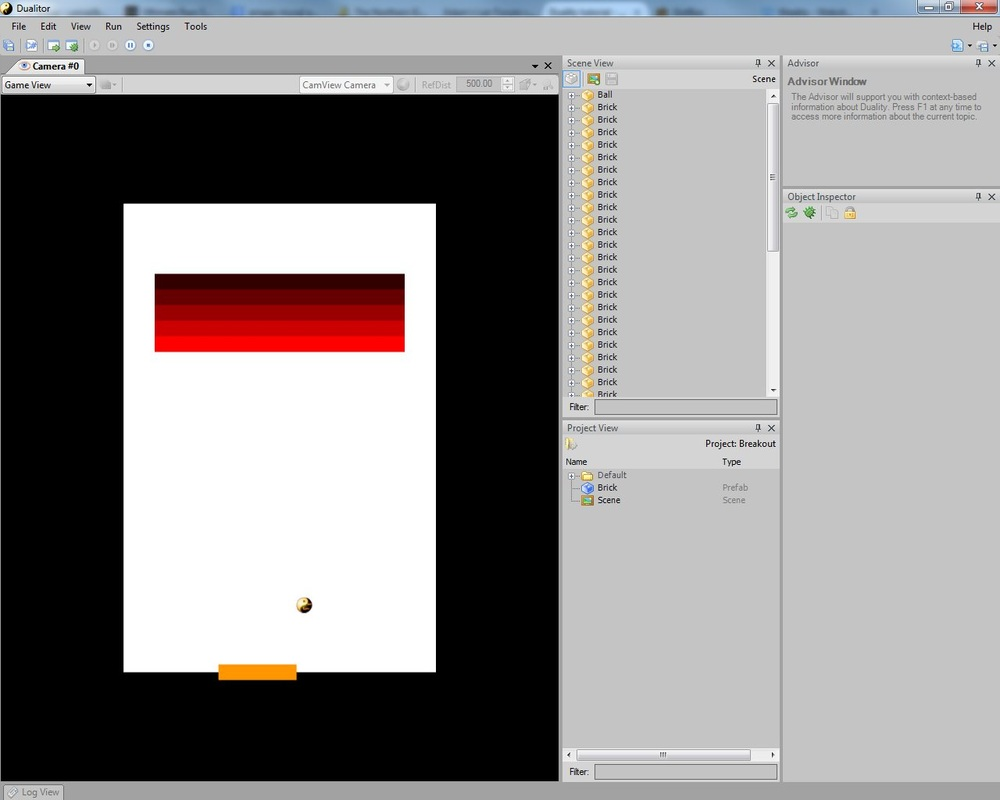
| Breakout | |
| Bouncing balls | |
| Hurt me plenty | |
Hurt me plenty
Finally we are ready for the third and final part of the Breakout tutorial series.
As I said at the end of the last part, this time we will complete the tutorial by introducing
Add a
- set
Rect to[-20, -10, 40, 20] - set
SharedMaterial toDefault\Material\SolidWhite (fromProject View )
Add a
set
Now, we will want our Bricks to have a different durability from one another, and in this case we will also need a way to determine how much durability a single Brick has left; so let’s head back to the IDE and create a new
You will notice something different from usual: this time, instead of having a public auto-property with get and set methods, I explicitly created the private backing field
In addition, the backing field was decorated with the
Lastly, I added a
Add the
Congratulations! You just created a
Once we have our Prefab, you can safely delete the
This
- generate the game field by instantiating Bricks and placing them at the right coordinates,
- take care of calculating the score of the player
- take care of resetting the
Ball in case it goes out of bounds OR a new game is started (this will mean that our Ball won’t do that by itself anymore) - manage the lives left and, once they are gone, stop the game
For the first point, I will use a hardcoded approach, based on the fact that we know how much space there is around the game area and where we can put our Bricks. A good exercise would be to implement a new method which would generate the levels by selecting a template (could be an array where each index is a subsequent level) written using some kind of convention
that defines the place and durability of each brick.
The second point will be implemented in conjuction with the
The third and fourth points will be in fact managed by the same method, as you will see later, since a Ball going out of bounds is directly related to the amount of lives left for the player.
Again, some things you will (or should) notice in the code:
- Once again I use
[NonSerialized] private fields to hold the score and lives; as I explained before, there is no need to store the score inside the game’s Resources and, even if you were to implement a Save/Load mechanism to keep on playing a game from an arbitrary point, it would be better to save the current information inside the save file itself without cluttering the scene. - You might ask what is
BrickPrefab and why do we need it: aContentRef<T> is basically a link to a dynamically-loaded Rresource - whatever its type (defined, you guessed right, by T) and, in our case, it is needed in order to tell our component which one is the correct Prefab that should be instantiated as a “Brick”. Just drag the Brick Prefab from theProject View and drop it in the corresponding cell in the editor. - to remove the connection between a GameObject and the Prefab it was based on we use
BreakPrefabLink() ; I guess there is no harm in keeping it, as long as you don’t alter the Prefab usingGameObject.PrefabLink methods. I just prefer to stay safe :) and also it keeps the game environment clean in my mind. - I always use
this.GameObj.ParentScene to determine whichScene a new GameObject should be added to because, unlessScene.Current , it lets you work with Components in Scenes that are not the currently active one; for example, you might need to generate a level in one Scene, while currently you are showing another Scene as a loading screen. Again, it’s just what I feel is best.. I might be wrong :)
Right, so now that we have our level generation code sorted out, we need a way to trigger it. To this end, we will modify our
As you can see, we added a property to reference our
Finally, we can now complete our
All right, that was long!
Compile your project and, if everything went fine, you should be able to add your
Go on, try to
I didn’t expect for this part to be so long.. I will stop here and finish with the scoring and general UI concepts next time.
See ya!