All right, this is my first tutorial series, so be nice :D
In this tutorial I will try to develop al simple clone of Breakout using Duality.
Being a quite simple game concept, it shouldn’t be too difficult to implement, at least at a basic level.
Despite this being a basic tutorial, I will assume the following:
- you have already seen Duality and Dualitor (the Duality Editor)
- you can navigate your way around them
- you know how to add a GameObject or a Component
- you know the basics of C# and of coding
For this tutorial, no extra resources are needed other than what is already present inside Duality.
But first things first, a quick and extremely simplified overview of Breakout: the goal of the game is to break a wall of bricks using a ball, while steering a paddle around to stop the ball from leaving the game area. The ball moves using a constant motion and can bounce on the bricks, the walls of the game area, and the paddle. Whenever a brick is hit by the ball, it gets damaged and when its “health” is depleted, it is removed from the game; when all the bricks have been removed, the level is clear and the game moves to the next one. If the ball goes out of the game area, the players loses one life and a new ball is put into play. When all lives are gone, the game is over.
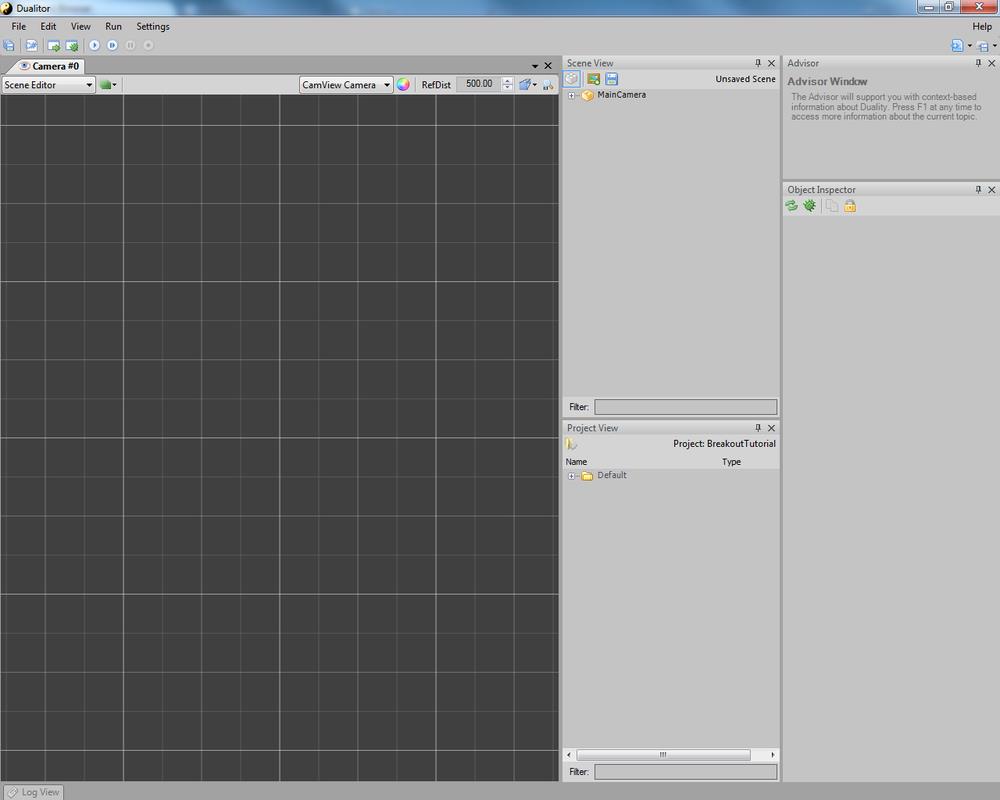
So let’s start and see where it takes us; fire up Dualitor and create a new project called “Breakout”: you will see something like this (results may vary, depending on your version)
The first thing we need for our game, is the ball.
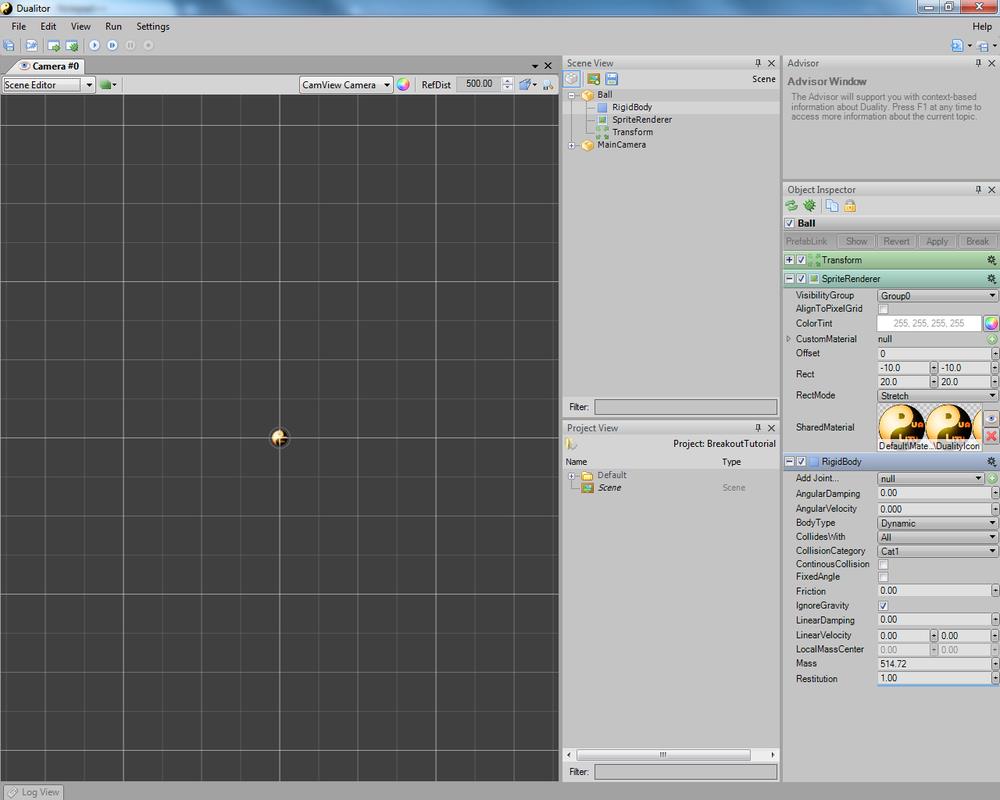
Add a New ▶ GameObject to the Scene, and call it “Ball”; add a New ▶ Graphics ▶ SpriteRenderer to our Ball: by default it will appear as the Duality logo, which is a good enough ball for our purposes.. just a little too big; so change the new SpriteRenderer.Rect to [-10, -10, 20, 20].
Finally, add a New ▶ Physics ▶ RigidBody component (we will use it to manage collisions and the general movements to the Ball).
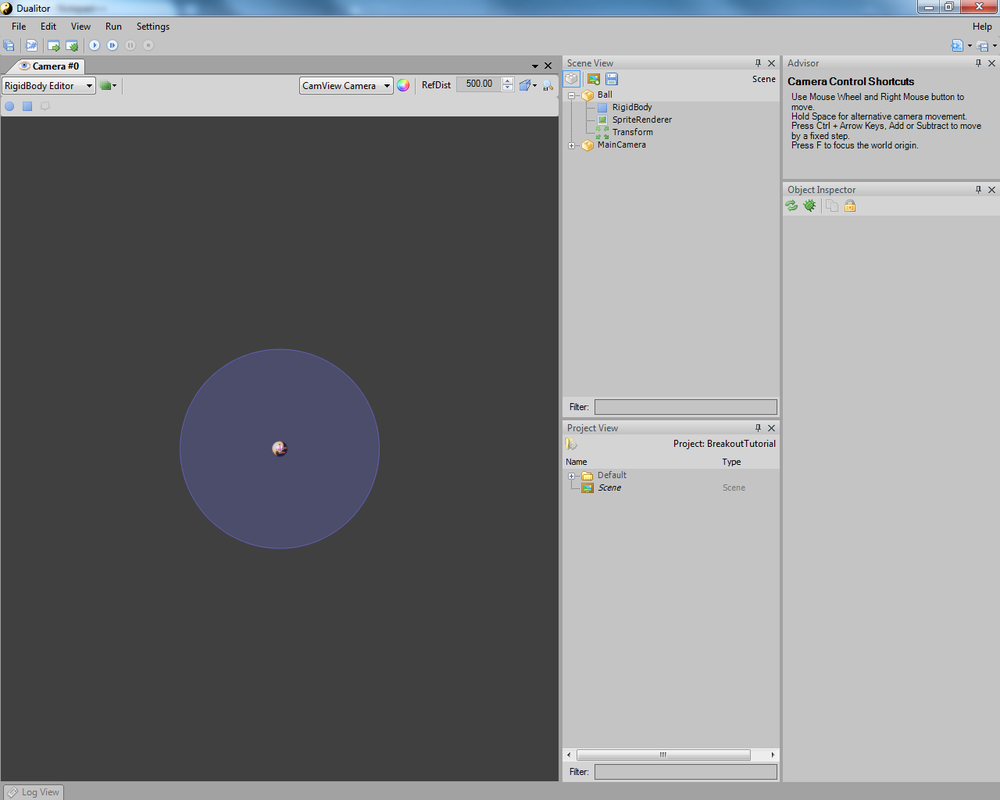
So click Play and see what happens: our newly created Ball falls under the effects of the gravity and it soons disappears from the screen. Click Stop and it will be back to its starting position.
The next thing to do, is to fix the RigidBody so that it closely resembles our ball.
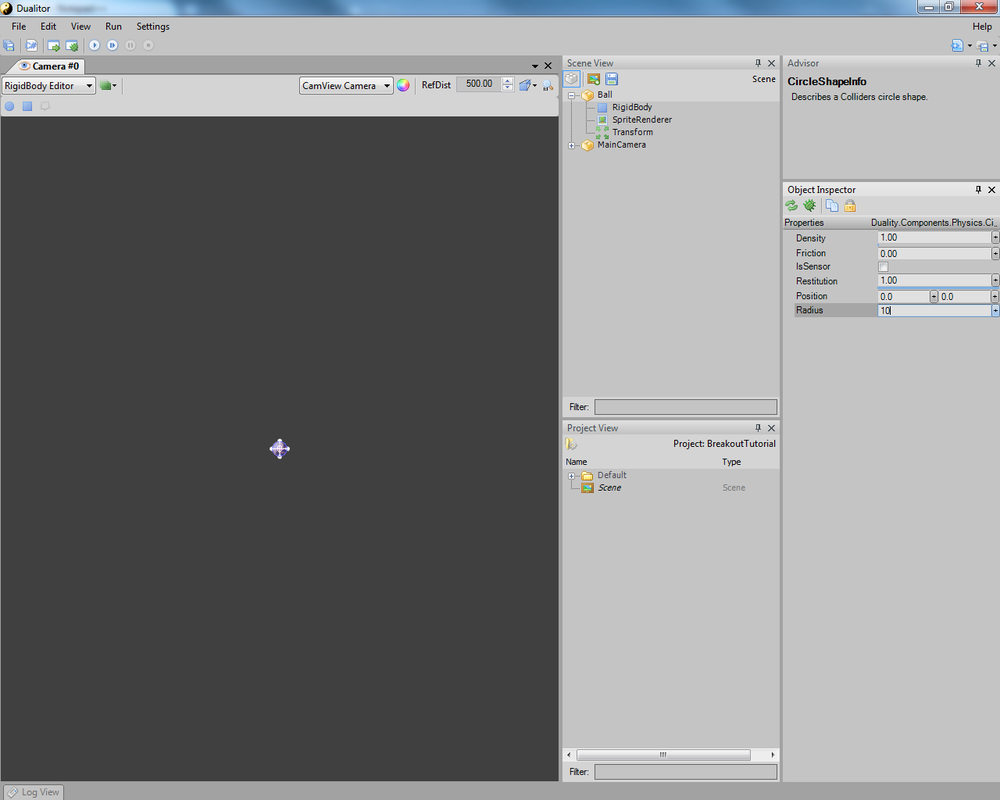
Switch the view to the RigidBody Editor using the combobox over the Scene Editor: you will notice that our tiny ball’s RigidBody is huge compared to it, so select it and change its Radius to 10.
Finally, going back to the Scene Editor, change the RigidBody parameters so that AngularDamping, LinearDamping and Friction are set to 0, and Restitution
is set to 1. This will make so that our Ball will never lose speed due to collisions or friction, but keep on moving.
At this point, we still only have our falling ball, which is quite amusing to see for the first couple times, but gets boring quite quickly, so let’s add a shiny paddle.
Add both a New ▶ GameObject to the Scene and call it “Paddle”, and a New ▶ Graphics ▶ SpriteRenderer to the newly created GameObject.
Now, edit the SpriteRenderer as follows:
- set Rect to [-50, -10, 100, 20]
- set SharedMaterial to Default\Material\SolidWhite (grab it from the Project View)
- set ColorTint to a nice orange color (RGB 255, 150, 0)
.. and voilà! we have our Paddle! now move it to the bottom by setting its Transform.Pos Y coordinate to 300.
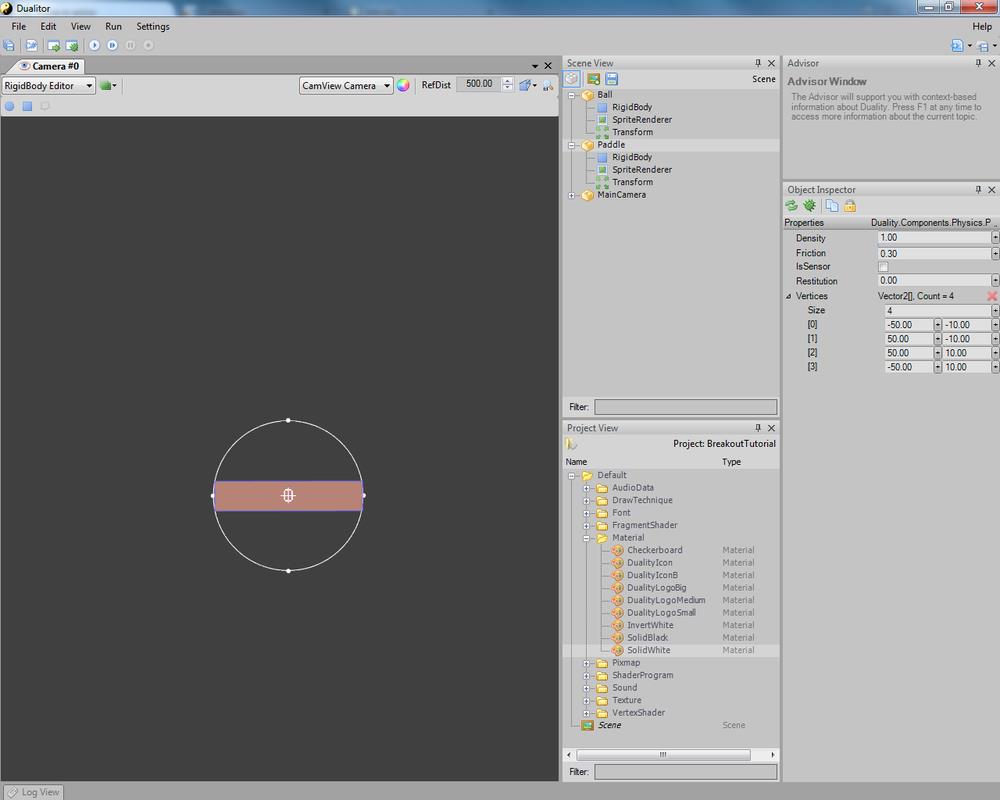
Again, add a New ▶ Physics ▶ RigidBody Component and switch to the RigidBody Editor view. Unfortunately in this case our paddle is not a circle, so remove the current shape and add a new polygon; being a rectangle, we will need 4 vertices (left click to add a vertex, right click to stop). It’s not important to place them exactly on the Paddle’s vertices, you can always fix the coordinates by editing them directly in
the Object Inspector. What’s important is that they are at the right coordinates (see the picture).
We are almost done.. now go back to the Scene Editor, select the Paddle and, again, set its RigidBody’s parameters as we did before (AngularDamping, LinearDamping, Friction to 0, Restitution to 1) and, this time, also set the BodyType to Static: this will prevent that collisions with
the ball move our paddle around.
One more time, press Play and you will see our xn>Ball</span> happily bouncing on the Paddle, never slowing down and always going back to the same height.
One thing that I forgot to mention, is that in Breakout each time the paddle hits the ball, this would make the ball go a little faster, making more difficult to catch it the next time it would come down. To do this, we would need to have a Restitution higher than 1 (i.e. the RigidBody will get back more energy than what it had during collision) but since this is not possible to do with the editor, we will have to get our hands dirty with some coding and, in this particular case, we will make a Component in charge
of managing the collisions of the Ball with the other actors in the game.
Open the Source Code by clicking on the second button of the toolbar; once Visual Studio (or your IDE of choice) is started, rename class “YourCustomComponentType” to “Ball”. In order for our new Component to know when the Ball hit something it must implement interface ICmpCollisionListener, so add it to the class declaration and choose to implement it explicitly by right clicking the interface name in the code. This will add 3 new methods to our class: ICmpCollisionListener.OnCollisionBegin, ICmpCollisionListener.OnCollisionEnd and ICmpCollisionListener.OnCollisionSolve; for our goal, we are interested only in OnCollisionSolve.
What we want to do is to verify if the Ball hits our Paddle and, in this case, give it a little extra push to make it go faster than what it was before. We will accomplish this by using ApplyLocalImpulse(-Vector2.UnitY) to the Ball’s RigidBody (you might need to add OpenTK to the using list for this) Why -Vector2.UnitY? Because Y
coordinates increase going down; since we want the ball to fly further from the paddle, we apply a negative Y force to it, so that it will be thrown away from the paddle.
Your code should look like this:
Compile and, if everything went well, you will now be able to add the New ▶ Breakout ▶ Ball component to your ball. Do it, then press play, and admire the ball as it flies away after hitting the paddle.. maybe a little too quickly. In order to make it easier for the player, we have to somehow apply a smaller force to the ball after it hit the paddle. Go back to the code and change the ApplyLocalImpulse parameter to (-Vector2.UnitY * PaddleImpulse). What is PaddleImpulse? It’s a new float property that you have to add to the class and that will let you calibrate on the fly the strength of the impulse applied to the ball.
Again compile, and go back to the editor: you should already see the new property in the Ball’s Object Inspector view with the default value of 0.00.
Letting the game play now will yield the same result as before adding the Ball, this is because the impulse applied has a strength of 0, which means that no force is applied to the Ball. Try to change PaddleImpulse to 0.01: you will see that the ball gets a little higher every time it hits the paddle, which is exactly what we wanted to achieve.
This is the final code, for reference:
And that’s all for the first part of this tutorial. In a few days I will hopefully have the rest ready :D